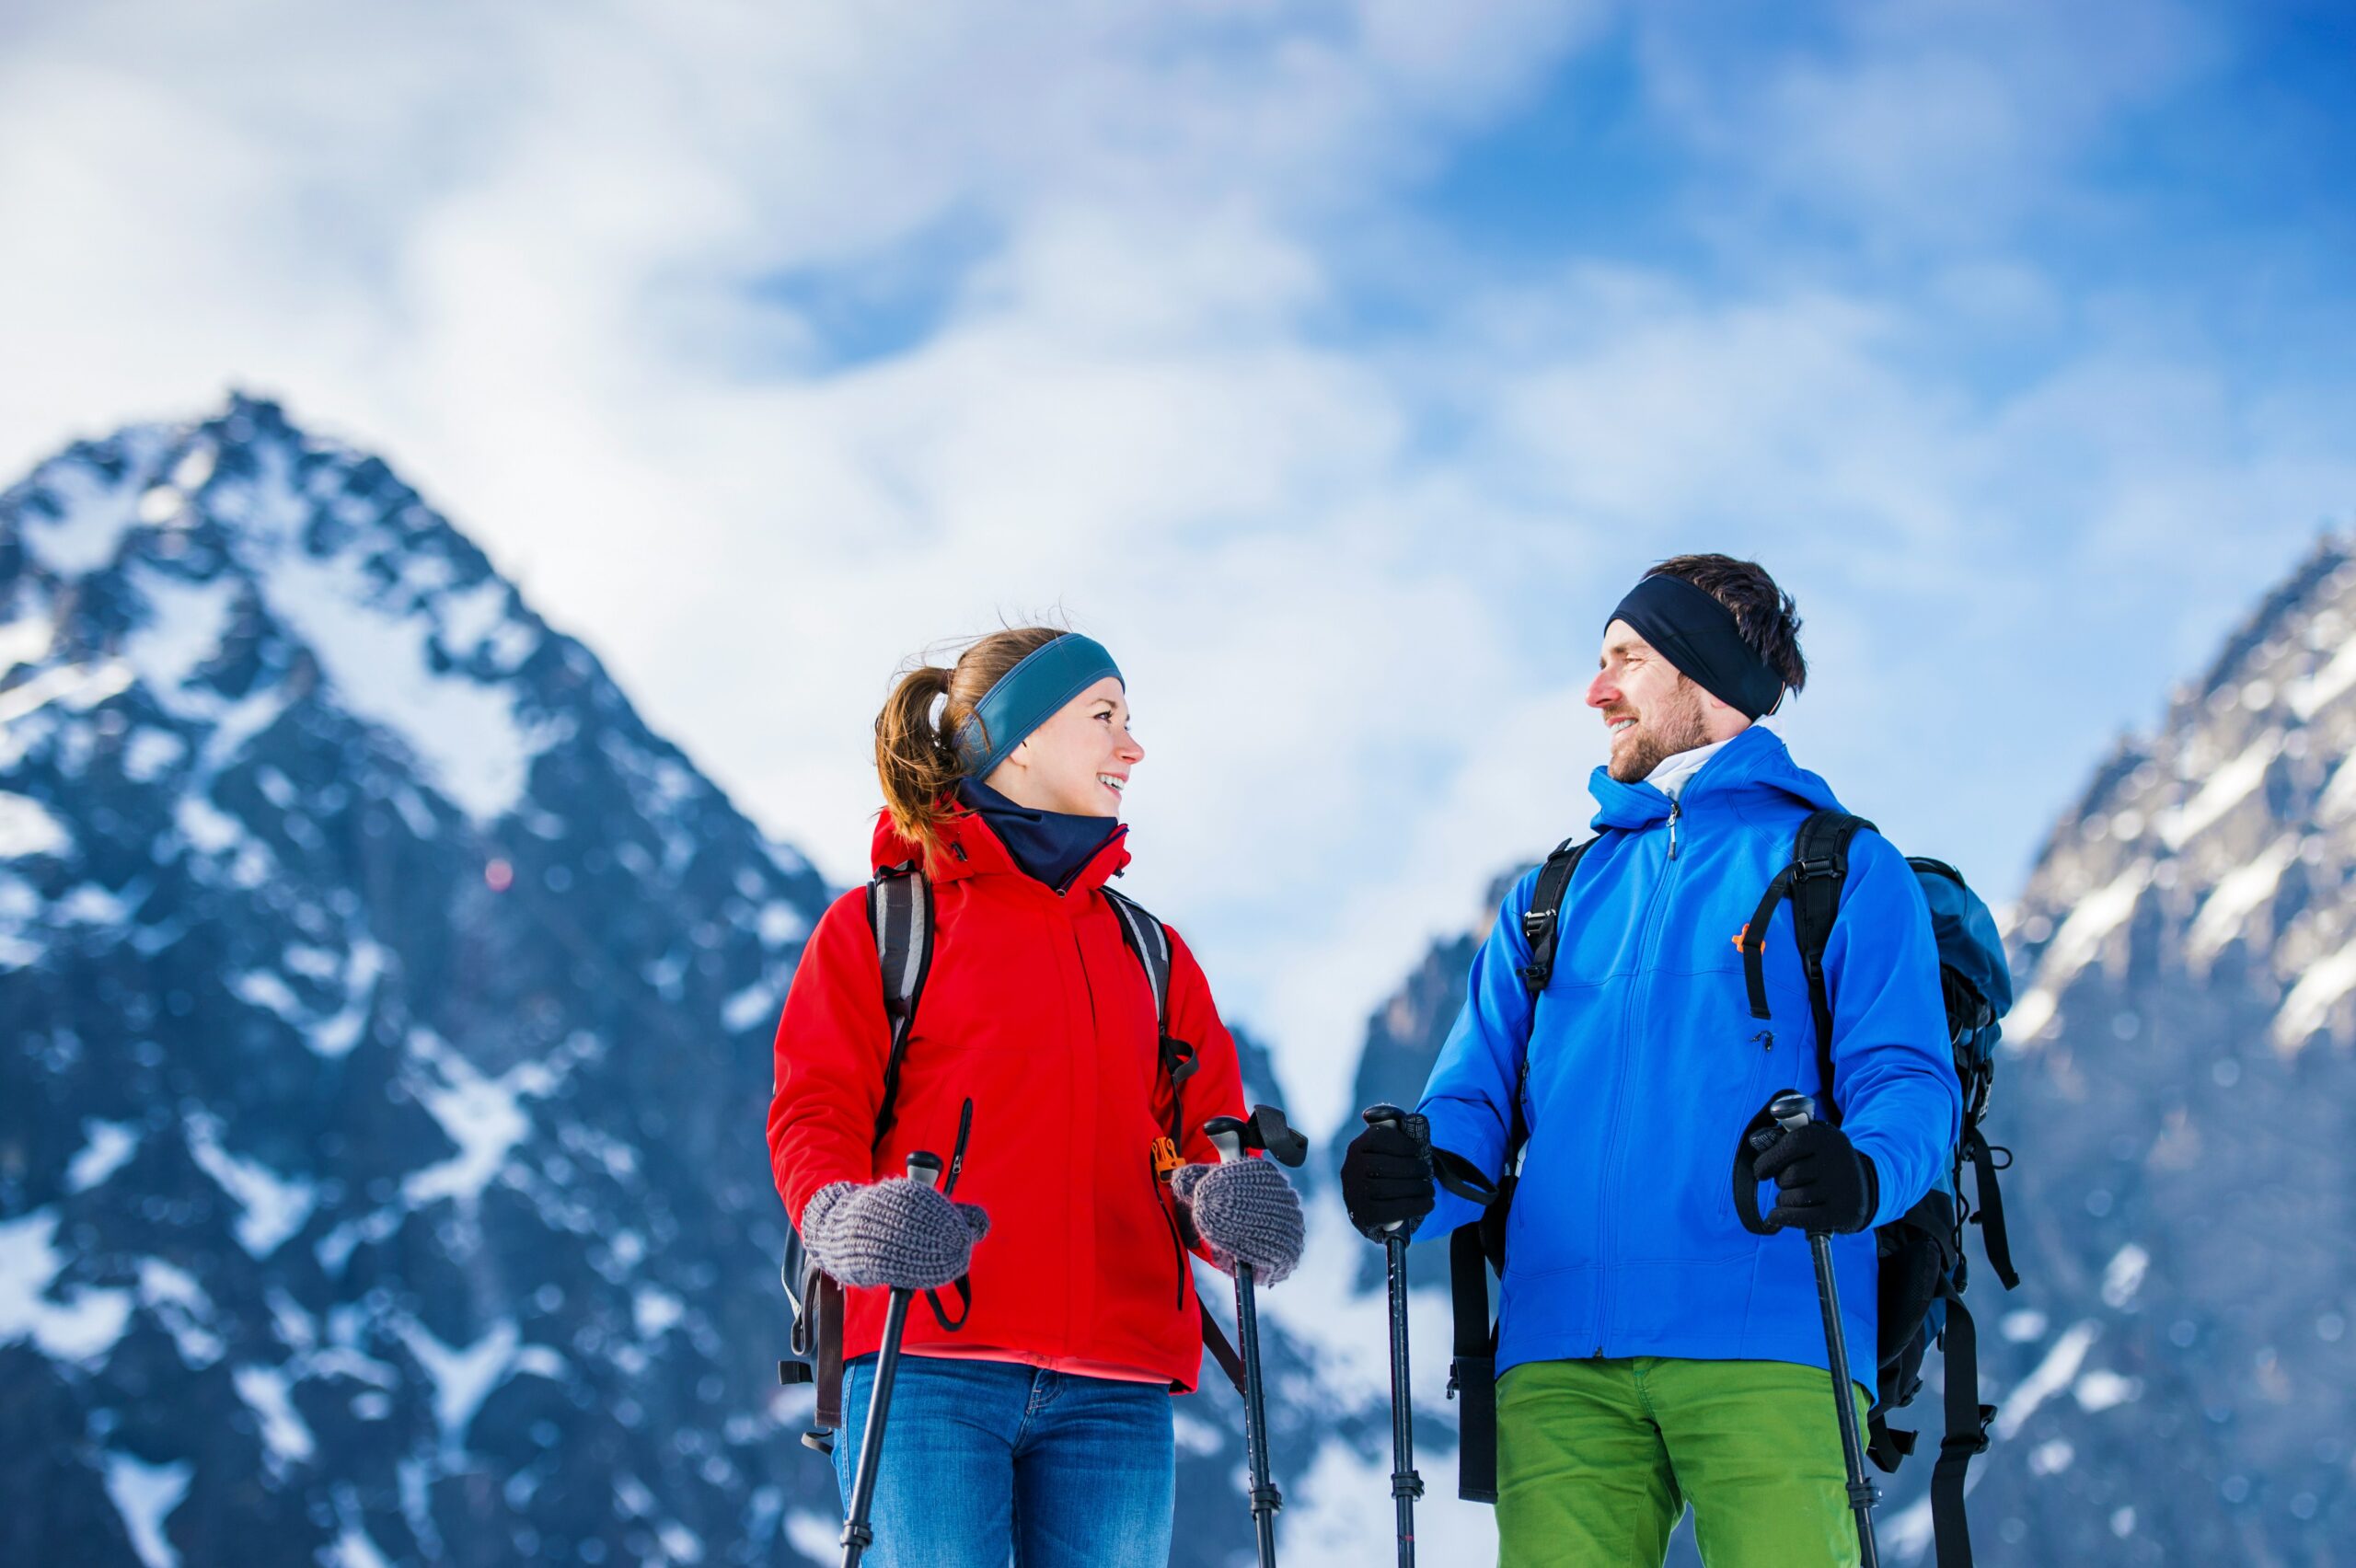
Toronto, known for its bustling cityscape and vibrant cultural scene, may not be the first place that comes to mind when you think of skiing. However, just a short drive from the city, you’ll find a variety of slopes perfect for both novice and seasoned skiers. If you’re a winter enthusiast passionate about photography, these skiing spots offer incredible opportunities to capture the essence of winter adventure. Here are some winter photography tips to help you make the most of Toronto’s skiing thrills.
Embrace the Golden Hours
The lighting during the early morning and late afternoon, often called the golden hours, is a photographer’s best friend. In the context of winter photography, these times offer a soft, warm glow that can enhance the cool blues and whites of the snowy landscape. Capturing skiers during these hours can result in stunning images that highlight both the action and the natural beauty of the setting.
One key tip is to position yourself where the sun is behind your subject. This backlighting technique can create a beautiful halo effect around the skier, emphasizing the movement and adding depth to your photo. Alternatively, shooting with the sun at a low angle to the side can cast long shadows, adding a sense of drama to your shots.
Mastering Action Shots
Skiing is a fast-paced sport, making action shots both challenging and rewarding. To freeze the motion of skiers as they carve through the snow, use a fast shutter speed—ideally 1/1000th of a second or faster. This ensures crisp, clear images that capture every detail of the skier’s movements.
If you want to add a sense of motion to your photos, try panning. This technique involves moving your camera with the skier, using a slower shutter speed (around 1/60th to 1/125th of a second). The result is a sharp subject against a blurred background, conveying the speed and energy of the skier’s descent.
Playing with Composition
Good composition is crucial in photography and winter sports photography is no exception. The rule of thirds is a tried-and-true method: imagine your frame divided into nine equal parts by two horizontal and two vertical lines and place your subject along these lines or at their intersections. This creates a balanced image that’s pleasing to the eye.
For a more dynamic composition, experiment with angles and perspectives. Shooting from a low angle can make the skier appear more powerful and dominant in the frame, while a high angle from above can offer a unique vantage point that showcases the surrounding landscape. Don’t be afraid to get creative and break the rules—sometimes, the most striking images come from unexpected compositions.
Capture the Environment
While action shots of skiers are undoubtedly exciting, remember not to capture the environment around you. The snow-covered trees, mountain vistas, and even the frost-covered details on your gear can add context and depth to your winter photography portfolio.
Wide-angle lenses are useful for capturing the expansive landscapes surrounding Toronto’s ski slopes. These lenses allow you to include more of the environment in your shots, emphasizing the scale and majesty of the winter wonderland. When using a wide-angle lens, be mindful of your horizon line—keeping it straight ensures your images are well-balanced.
Adjusting for Winter Conditions
Winter photography presents its own challenges, particularly when it comes to exposure. Bright snow can easily trick your camera’s light meter, leading to underexposed images. To combat this, try overexposing your shots by one or two stops. This adjustment helps ensure the snow appears white and not gray, preserving the true colors of the scene.
Another consideration is your camera’s white balance setting. Snow can sometimes appear blue in photos, especially in shaded areas. To correct this, adjust your white balance manually or use a preset specifically for snowy conditions. This will help maintain the natural color balance and ensure your images accurately reflect the scene.
Protecting Your Gear
Winter conditions can be harsh on photography equipment, so taking precautions to protect your gear is important. Cold temperatures can drain your camera’s battery faster than usual, so bring spares and keep them warm in an inner pocket. Moisture from snow and condensation can also be problematic; using a weather-sealed camera or a protective cover can help keep your equipment safe.
When moving from a cold environment into a warmer one, such as entering a lodge after shooting, avoid condensation by placing your camera in a sealed plastic bag before going inside. This allows the camera to warm up gradually without moisture forming on the lens or internal components.
Editing Your Photos
Post-processing is the final step in creating stunning winter sports photography. Use editing software to enhance your images by adjusting exposure, contrast, and color balance. For action shots, consider increasing the clarity and sharpness to bring out the details of the skier and their surroundings.
Winter scenes often benefit from a boost in contrast, which helps to define the different elements in your image, from the skier to the snow and sky. However, be careful not to overdo it—keeping your edits subtle will ensure your photos remain natural and true to the scene you captured.
Toronto’s nearby ski spots offer a wealth of opportunities for winter enthusiasts to capture the season’s thrills. By embracing the unique lighting conditions, mastering action shots, and taking care of your gear, you can create a stunning portfolio of winter photography showcasing the beauty and excitement of skiing in the Toronto area. Whether you’re a seasoned photographer or just starting, these tips will help you make the most of your time on the slopes, ensuring that your photos truly capture the essence of the winter season.